How to Run Your First Vulnerability Scan
Follow these five simple steps to start using OpalOPC for OPC UA vulnerability assessment. With OpalOPC, you can gain full visibility into your OPC UA server security by conducting a vulnerability assessment. (If you have not yet installed OpalOPC, please see the install docs.)
1. Locate Targets
Collect the OPC URIs of the servers you want to scan. If you have the servers registered on an LDS or GDS, you can target all of them by specifying only the URI for the directory server.
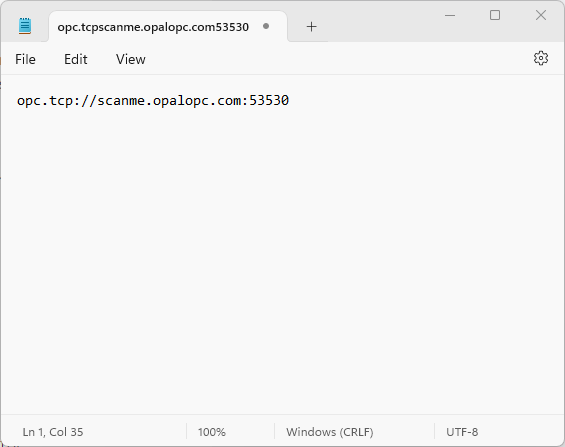
To construct the OPC URI for a server, you plug its IP address or hostname and port number into the following:
opc.tcp://IP-ADDRESS:PORT-NUMBER
So for example a server running on 127.0.0.1 port 4048 becomes opc.tcp://127.0.0.1:4048
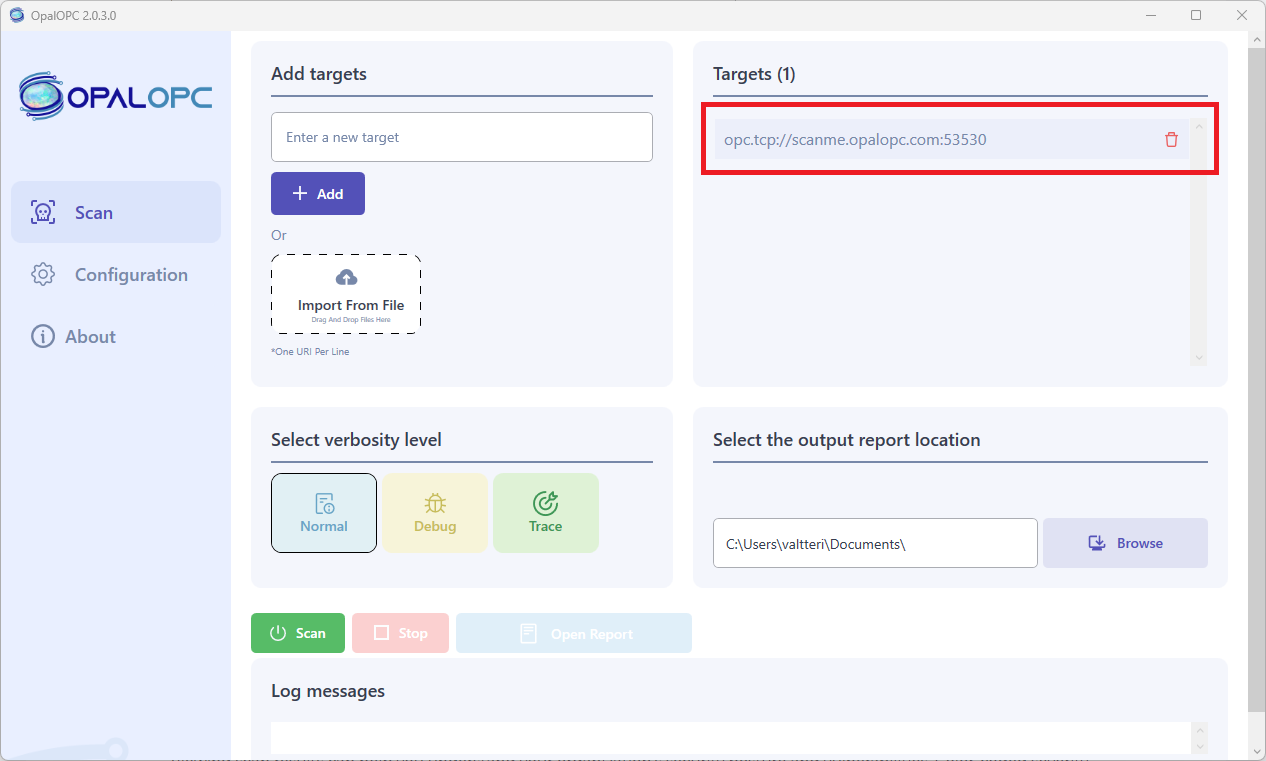
2. Configure Scan
Launch OpalOPC, and enter the URIs collected on the previous step as targets.
If you use client or user certificates, or credentials when connecting to the targets, you should configure them in the Application Authentication and User Authentication parts in Configuration tab respectively. This configuration ensures OpalOPC is able to drill deeper into the targets even if it fails to bypass authentication using other tricks.
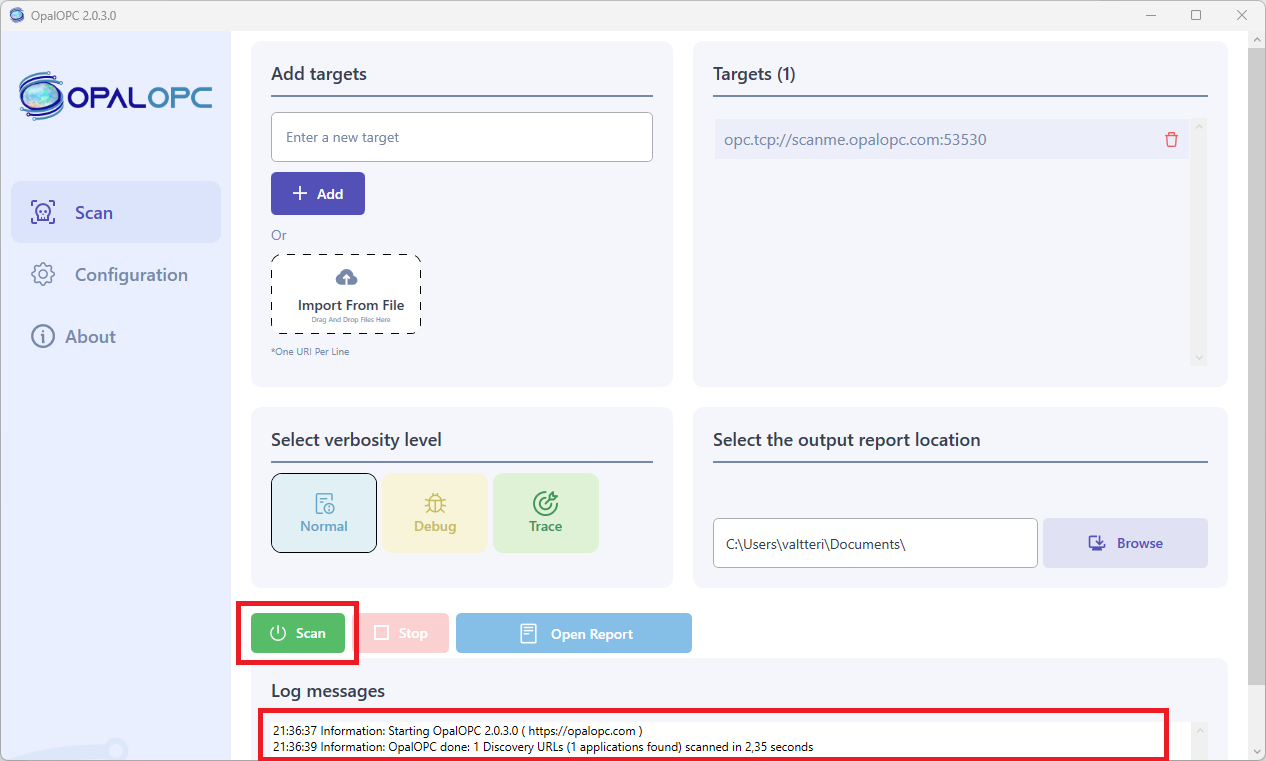
3. Launch Scan
Select Start in Scan tab.
This launches the security scan. You can observe the progress of the scan by reading log messages appearing in the log area. The time it takes to complete a scan involves many factors, such as number of credentials configured and network speed, so the scan may take some time to run.
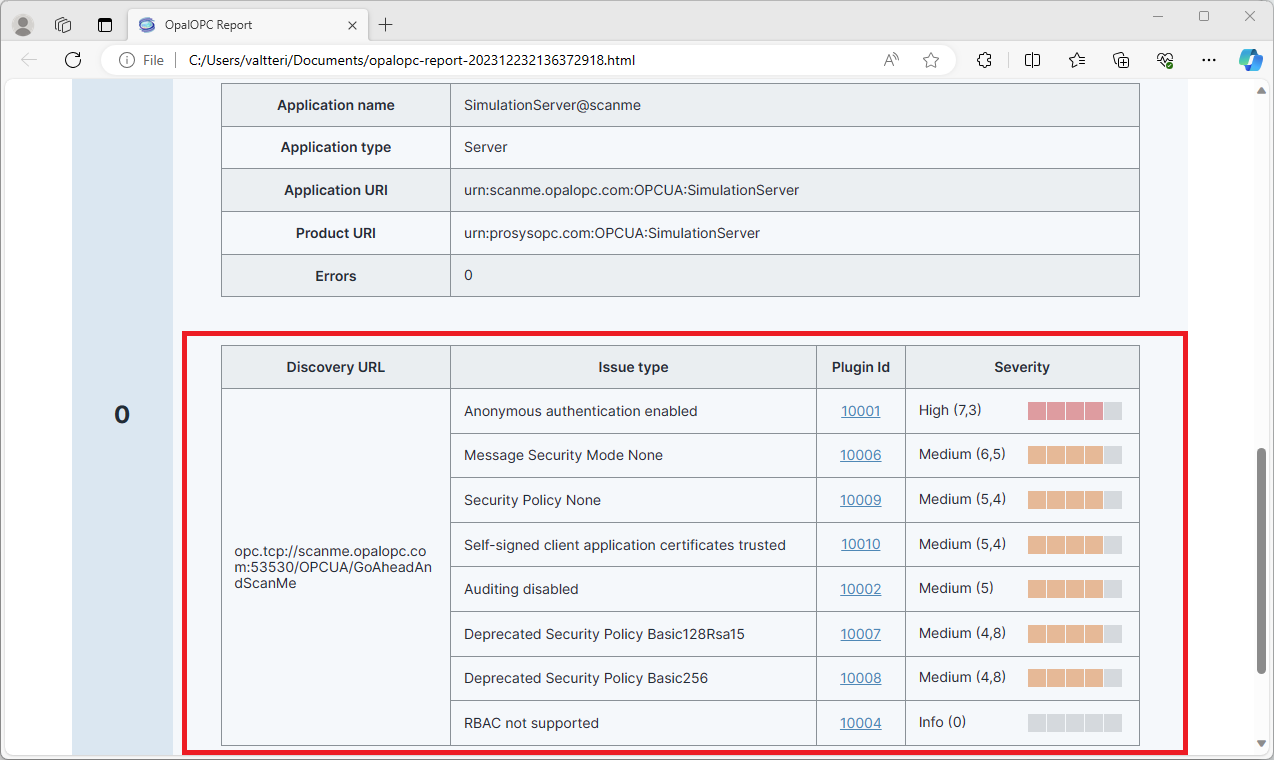
4. View Results
Viewing scan results can help you understand your organization’s security posture and vulnerabilities. Color-coded severity levels for each finding allow you to make sense which are biggest holes in your security.
To view results, select Open report in Scan tab once the scan has completed. This opens the scan report in your default browser.
The report shows a table of vulnerabilities for each target. Selecting the Plugin Id on a vulnerability will open the vulnerability details page, displaying plugin information and remediation suggestion.
5. Report Your Results
Your task may not be complete yet. It is important to share your findings with your team.
The scan report is a single, standalone HTML file that you can directly share. Note: the report may contain plaintext credentials or other information that allows gaining access to the targets.

Thanks for using OpalOPC! Once your first scan is complete, you can begin to discover more of what OpalOPC has to offer.